

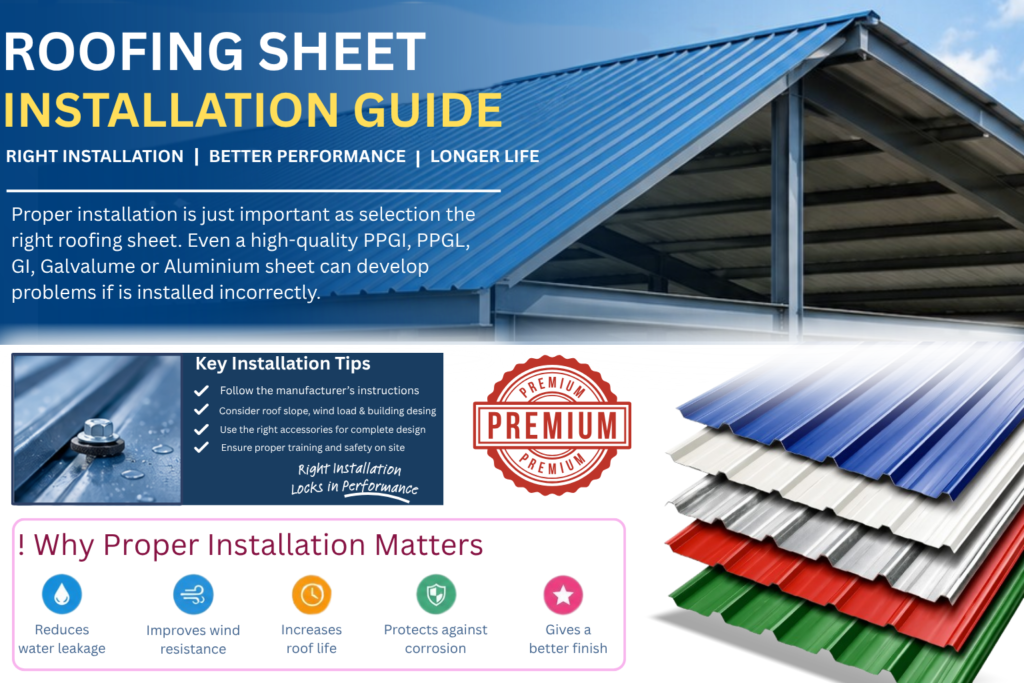
Proper installation is just as important as selecting the right roofing sheet. Even a high-quality PPGI, PPGL, GI, Galvalume, or aluminum roofing sheet can develop problems if it is installed incorrectly.
Incorrect overlaps, loose screws, poor flashing installation, and improper fixing can result in water leakage, corrosion, sheet movement, and premature roof damage.
This roofing sheet installation guide explains the important steps involved in installing metal roofing sheets, including sheet overlap, screws, flashings, fixing methods, and common installation mistakes.
Important: Exact overlap dimensions, fastener spacing, and fixing details should follow the roofing manufacturer’s installation instructions and the project’s structural requirements. They can vary according to sheet profile, roof slope, wind load, and building design.
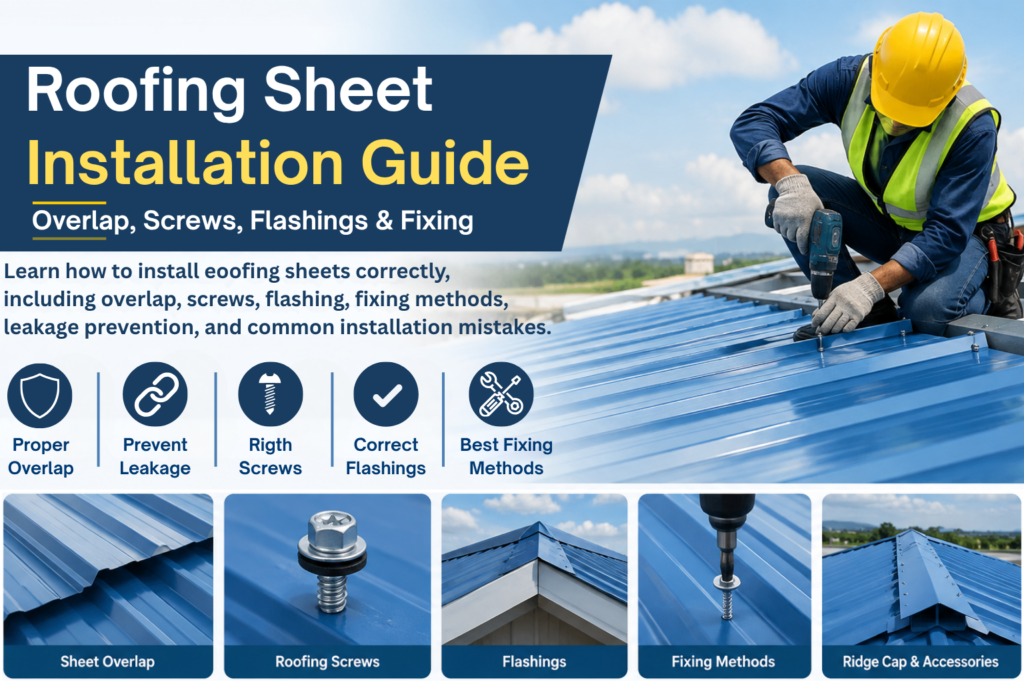
What Is Roofing Sheet Installation?
Roofing sheet installation is the process of fixing roofing sheets to the building’s supporting structure, usually purlins, using appropriate fasteners and accessories.
A complete roofing system may include:
- Roofing sheets
- Self-drilling screws
- Washers
- Ridge caps
- Gable flashings
- Corner flashings
- Apron flashings
- Drip flashings
- Gutters
- Valley gutters
- Sealants
- Other roofing accessories
Correct installation helps the roof perform better against rain, wind, sunlight, and normal maintenance activity.
Why Proper Roofing Sheet Installation Is Important
Good installation provides several benefits.
1. Reduces Water Leakage
Correct sheet over lap and properly installed flashings help prevent rainwater from entering through joints.
2. Improves Wind Resistance
Properly positioned and tightened fasteners help keep sheets securely attached to the supporting structure.
3. Protects Against Corrosion
Incorrect drilling, damaged coatings, or water accumulation around fasteners can increase the risk of corrosion.
4. Improves Roof Life
A properly installed roofing system can perform more reliably over its service life.
5. Gives a Better Finish
Correct alignment, fixing, and flashing installation provide a cleaner and more professional roof appearance.
Step-by-Step Roofing Sheet Installation Guide
Step 1: Check the Roof Structure
Before installing the sheets, inspect the supporting structure.
Check:
- Purlin alignment
- Purlin spacing
- Roof slope
- Structural condition
- Level and straightness
- Openings and penetrations
- Drainage arrangement
The supporting structure should be ready before roofing sheets are installed.
Step 2: Check the Roofing Sheets
Inspect the sheets before installation.
Look for:
- Scratches
- Dents
- Bent edges
- Damaged coating
- Incorrect lengths
- Profile damage
Do not install seriously damaged sheets without checking with the supplier or project engineer.
Step 3: Plan the Sheet Layout
Plan the sheet arrangement before fixing.
Consider:
- Roof direction
- Sheet length
- Side laps
- End laps
- Ridge location
- Gable edges
- Openings
- Flashing locations
Good planning reduces unnecessary cutting and helps maintain proper alignment.
Step 4: Start From the Correct Direction
The installation direction should be selected according to the sheet profile and prevailing weather conditions.
In many applications, sheets are arranged so that side laps face away from the direction from which driving rain is most likely to enter.
Follow the manufacturer’s recommended laying direction for the specific profile.
Step 5: Position the First Sheet
The first sheet is particularly important because it establishes the alignment for the remaining sheets.
Position it carefully at the roof edge and check:
- Overhang
- Alignment
- Squareness
- Purlin position
- Gable position
A poorly aligned first sheet can cause alignment problems across the entire roof.
Roofing Sheet Overlap Guide
Overlap is one of the most important parts of roofing installation.
There are generally two types of overlap:
Side Lap
A side lap is the overlap between two sheets placed next to each other.
The side lap should follow the manufacturer’s profile-specific recommendation.
Fasteners should be placed correctly through the overlapping sheets where required.
End Lap
An end lap occurs when one sheet overlaps another along the length of the roof.
End laps are more common when the roof length is greater than the available sheet length.
The required end-lap dimension depends on:
- Roof slope
- Sheet profile
- Rainfall
- Manufacturer’s instructions
- Building conditions
A greater roof slope may help water drain more effectively, while low-slope applications require particularly careful detailing.
Why Correct Overlap Matters
Insufficient overlap can allow rainwater to enter the joint.
Excessive or incorrectly positioned overlap can also create installation problems and unnecessary material usage.
Therefore, do not use one universal overlap dimension for every roofing sheet.
Always follow the manufacturer’s recommended overlap for the specific profile.
How to Fix Roofing Sheets With Screws
Roofing sheets are commonly fixed to purlins using self-drilling roofing screws or other approved fasteners.
The correct screw depends on the:
- Sheet material
- Sheet thickness
- Purlin material
- Purlin thickness
- Profile
- Wind conditions
- Project specification
Where Should Roofing Screws Be Installed?
Fastener placement depends on the roofing profile and structural design.
The screw should be positioned so that it securely connects the sheet to the supporting purlin.
Avoid placing screws too close to sheet edges unless the manufacturer’s fixing details specifically allow it.
For side-lap fixing, use the appropriate fastener and washer arrangement recommended for the profile.
Do Not Over-Tighten Roofing Screws
One common installation mistake is over-tightening screws.
Over-tightening can:
- Damage the washer
- Deform the sheet
- Damage the coating
- Create an uneven fixing point
- Reduce the effectiveness of the seal
The screw should be tightened enough to create a secure fixing without crushing the washer or deforming the sheet.
Do Not Leave Screws Loose
A loose screw can allow movement and create a potential path for water entry.
After fixing, installers should check that the fastener is properly seated and that the washer provides the required seal.
Roofing Sheet Flashings
Flashings are essential roofing accessories used to protect vulnerable areas and direct water away from joints.
Common roofing flashings include:
- Ridge flashing
- Gable flashing
- Corner flashing
- Apron flashing
- Drip flashing
- Valley flashing
- Expansion flashing
- Reverse flashing
Ridge Flashing
Ridge flashing is installed at the meeting point of two roof slopes.
It helps protect the ridge joint from rainwater and weather exposure.
Where ventilation is required, the ridge detail should be designed accordingly.
Gable Flashing
Gable flashing is installed along the roof’s gable edge.
It helps protect the roof edge and provides a cleaner finish.
Apron Flashing
Apron flashing is commonly used where the roof meets a wall or another vertical structure.
It helps prevent water from entering at the junction.
Drip Flashing
Drip flashing directs water away from roof edges and into the appropriate drainage system.
It is particularly useful around roof edges and other water discharge points.
Valley Flashing
Valley flashing is used where two roof slopes meet and rainwater collects.
Because valleys handle significant water flow, correct design and installation are especially important.
How to Install Roofing Sheet Flashings
Flashings should be installed so that water naturally flows over the flashing rather than behind it.
A typical process includes:
- Measure the required flashing length.
- Cut the flashing carefully.
- Position it correctly over or under the relevant roofing components.
- Maintain the required overlap between flashing pieces.
- Fix it using suitable fasteners.
- Seal critical joints where specified.
- Check the finished detail for water-flow paths.
The exact flashing detail varies depending on the roof design.
Roofing Sheet Fixing: Important Points
Correct fixing requires attention to several details.
Use the Correct Fastener
Select screws according to the sheet and supporting structure.
Use Suitable Washers
Quality washers help create a weather-resistant fixing point.
Maintain Correct Fastener Spacing
Fastener spacing should follow the project design and manufacturer’s recommendations.
Check Edge and Corner Areas
Wind forces can be more significant around roof edges and corners. Additional fixing may be required according to the structural design.
Avoid Damaging the Sheet
Do not drag sheets across one another. Avoid unnecessary scratching during installation.
Roofing Sheet Installation Tools
Depending on the project, installers may require:
- Measuring tape
- Screw gun
- Appropriate drill bits
- Metal cutting tools
- Snips
- Safety equipment
- Lifting equipment
- Sealant gun
- Marking tools
Cutting tools should be selected carefully to avoid excessive heat or damage to protective coatings.
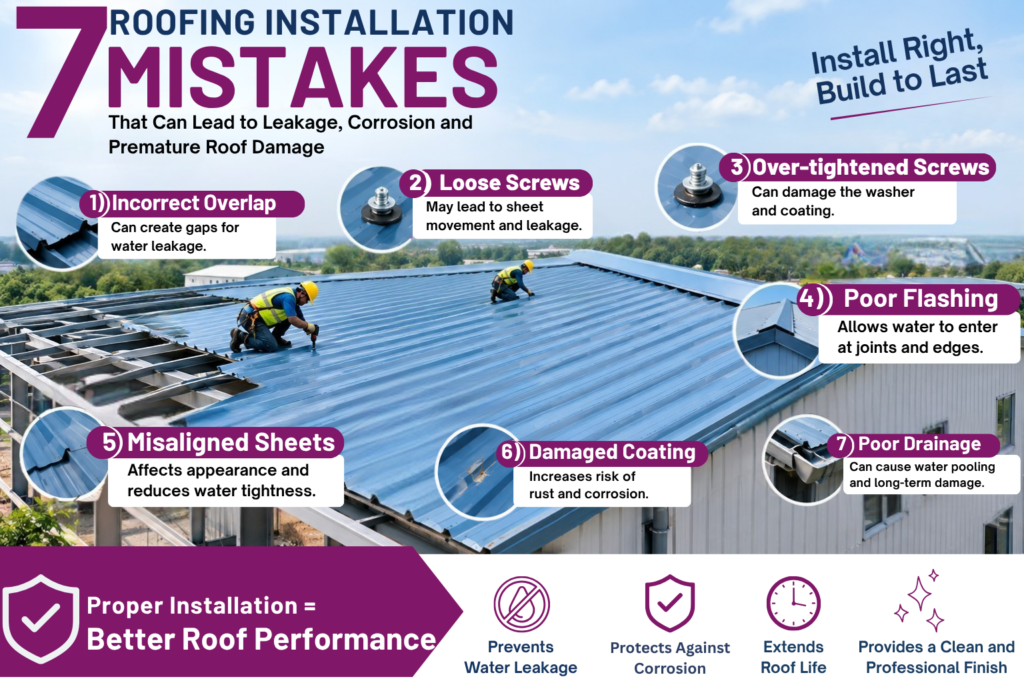
Common Roofing Sheet Installation Mistakes
1. Incorrect Sheet Overlap
Insufficient or incorrectly positioned overlap can cause leakage.
2. Over-Tightened Screws
Excessive tightening can damage washers and roofing sheets.
3. Loose Fasteners
Loose screws can allow movement and water penetration.
4. Incorrect Flashing
Poorly installed flashing can create leakage even when the main roofing sheets are installed correctly.
5. Poor Sheet Alignment
If the first sheet is not properly aligned, subsequent sheets can also become misaligned.
6. Walking Carelessly on Sheets
Improper foot placement can cause dents or profile damage.
7. Using Incorrect Cutting Methods
Improper cutting can damage protective coatings and create corrosion-prone edges.
8. Ignoring Roof Drainage
Water should have a clear path to gutters and downpipes.
Standing water can negatively affect roofing performance.
How to Prevent Roofing Sheet Leakage
To reduce the risk of leakage:
- Use the correct sheet profile.
- Maintain the manufacturer’s recommended overlap.
- Use suitable roofing screws.
- Do not over-tighten fasteners.
- Install flashings correctly.
- Seal critical joints where specified.
- Maintain proper roof slope.
- Keep gutters and drainage paths clear.
- Inspect roof penetrations carefully.
- Repair damaged coatings promptly.
Roofing Sheet Installation for Industrial Sheds
Industrial roofing requires additional attention because the roof may be exposed to significant wind loads, large roof spans, maintenance activity, and industrial environments.
Before installation, confirm:
Roof design + purlin spacing + sheet profile + sheet thickness + wind load + fastener specification + flashing details
For large industrial sheds and warehouses, installation should follow the approved structural drawings and manufacturer’s recommendations.
Roofing Sheet Installation Checklist
Before completing the installation, inspect the following:
| Item | Check |
| Roof structure | Purlins aligned and ready |
| Sheet profile | Correct profile supplied |
| Sheet thickness | Matches project specification |
| Sheet alignment | Properly aligned |
| Side lap | Correctly installed |
| End lap | Correctly installed where required |
| Screws | Correct type and spacing |
| Washers | Properly seated |
| Ridge flashing | Correctly installed |
| Gable flashing | Correctly installed |
| Wall flashing | Properly detailed |
| Gutters | Correctly aligned |
| Roof penetrations | Properly sealed |
| Coating damage | Checked and repaired |
| Drainage | Clear and functional |
Safety During Roofing Sheet Installation
Roofing work involves significant safety risks.
Workers should use appropriate:
- Personal protective equipment
- Fall-protection systems
- Safety footwear
- Gloves
- Eye protection
- Approved access equipment
Do not walk on unsupported sheets or work on a roof without suitable fall protection.
For industrial projects, follow the site’s approved safety procedures and applicable regulations.
Frequently Asked Questions
What is the correct overlap for roofing sheets?
There is no single overlap dimension for every roofing sheet. The required side lap and end lap depend on the sheet profile, roof slope, rainfall, and manufacturer’s installation instructions.
How many screws are required per roofing sheet?
The number of screws depends on the sheet profile, purlin arrangement, wind load, sheet length, and project design. Follow the manufacturer’s fixing schedule or structural drawings.
Can roofing sheets be installed without flashing?
Flashings are important at ridges, gables, walls, corners, valleys, and other vulnerable locations. Omitting required flashings can increase the risk of water leakage.
Should roofing screws be tightened completely?
Screws should be tightened sufficiently to provide secure fixing and the required seal. Over-tightening can damage the washer or deform the sheet.
Can roofing sheets be installed directly over purlins?
Yes, metal roofing sheets are commonly fixed to purlins. However, the purlin spacing, sheet profile, thickness, fastener type, and structural design must be suitable for the application.
What is the best way to prevent roofing sheet leakage?
Correct overlap, suitable fasteners, proper flashing, adequate roof slope, good drainage, and careful installation are key factors in reducing leakage.
Final Thoughts
A successful roofing project depends on more than selecting a good-quality roofing sheet. Correct overlap, proper screw fixing, suitable flashings, accurate alignment, and safe installation are all essential for long-term performance.
Before installation, confirm the sheet thickness, profile, purlin spacing, fastener specification, overlap details, and flashing requirements.
For industrial sheds, warehouses, factories, and commercial buildings, always follow the project drawings and the roofing manufacturer’s installation recommendations.
Bhagwati Roofing Products provides roofing sheets and roofing accessories for industrial and commercial applications, including roofing profiles, flashings, fasteners, and related solutions.
Choose Quality. Choose Confidence. Bhagwati Roofing.